Get started now with Google Analytics 4 and Drupal
The biggest change with Google Analytics 4 isn't just introducing new ways of collecting data, it's that marketers and teams will better understand how visitors engage with their websites. And it needs to be installed right away, not in 2023, so let's get started.
Starting July 1, 2023, standard properties (UA-IDs) will no longer be processed by Universal Analytics. Set up and switch over to a Google Analytics 4 property now to prepare and start tracking historical data.
What's so special about version 4?
Google Analytics 4 (GA4) is the latest version of Google Analytics, a powerful website traffic tracking tool. GA4 uses a concept called “events” to track user interactions with a website. Events can be anything from a user clicking on a button to page loads. Each event has various properties that can be tracked, such as the event’s name, category, and label. GA4 provides more accurate data than other website traffic tracking tools and offers more features and options than other website traffic tracking tools. GA4 is easy to use and set up, and it integrates seamlessly with Drupal 8 & 9. Note: at the time of this writing, the Drupal 7 module is not ready for GA4.
Google Analytics 3 Vs. Google Analytics 4 - The key differences
Google Analytics 3 was released in 2006 and it is the most widely used version of the software. It offers basic features for tracking website traffic, such as:
- The ability to track pageviews
- The ability to track unique visitors
- The ability to track visitor behavior (such as bounce rate and time on site)
Google Analytics 4 was released in 2020 and offers a number of new features, including:
- The ability to track specific events on your website
- The ability to create and share custom reports
- Improved support for mobile devices
- A re-designed dashboard
To get started, you will need Administrator access to your Drupal website (and ensure the latest version of GA is installed - 4.0.0), access to an existing Google Analytics account or the ability to create a new one using a UCSB NetID.
Create an Analytics account
Your first step is to set up an Analytics account, unless you already have one. Skip to connecting a property if you already have an account and it's connected to a Drupal website.
- Navigate to https://analytics.google.com
- Log In using your NetID and password (if you are not currently logged in)
- Click the
 Admin Button in the bottom of the left navigation menu.
 - Click the
 Create Account button under the Admin tab
 - Provide an account name. Configure the data-sharing settings to control which data you share with Google. We recommend deselecting the ‘Google products & services’ and ‘Account specialists’ checkboxes.
- Click Next to add the first property to the account.
- Enter the url of the site in the Property Details field and click Show advanced options
- Under Industry Category select Jobs and Education, select the size of the department for the Business Size field and click the Create button.
- The account will now be created, and you will be in the newly created account, along with a new stream id.
- To setup permissions and account management for this new account, checkout the Permissions section below.
Connect a property to an existing Google Analytics account
- Navigate to the account that houses the property.
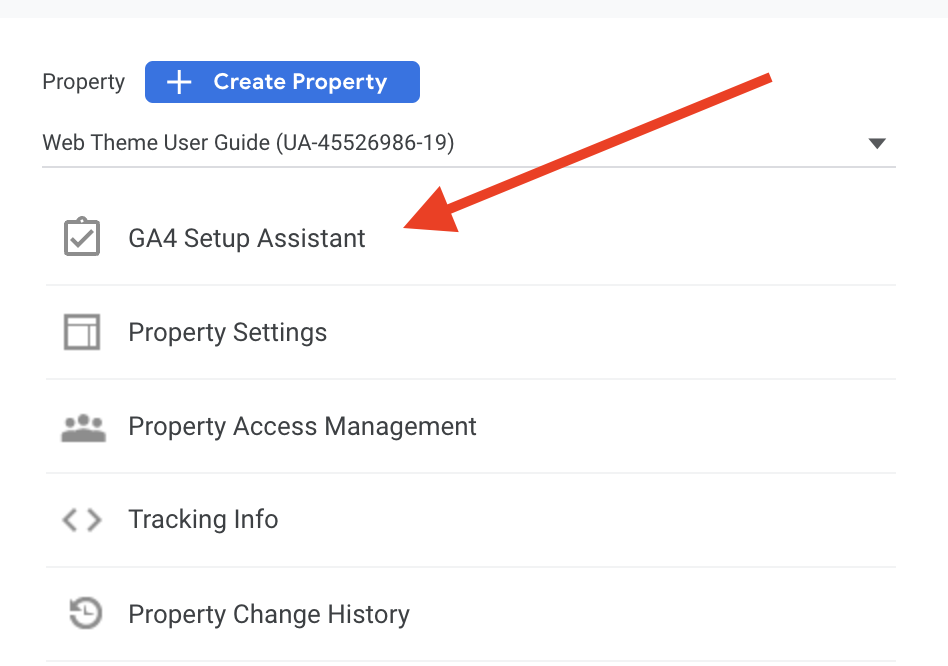
- When you arrive on the home screen (labeled "All Web Site Data") for the given property, there should be 3 columns present: Account, Property, Views.
- Under Property, select the option GA Setup Assistant
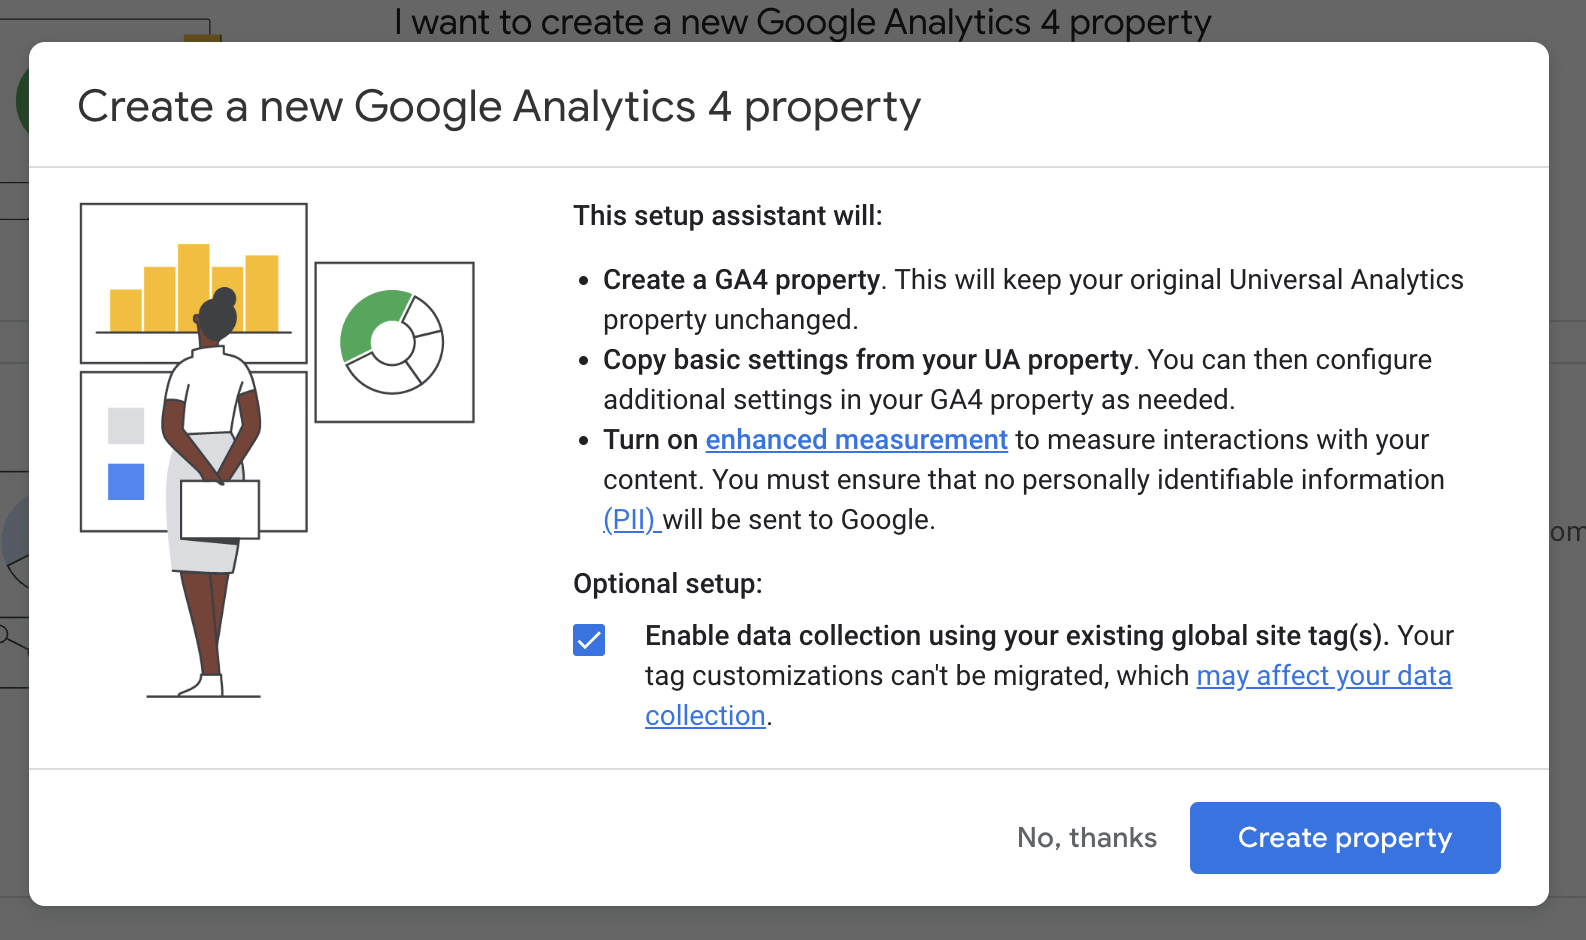
- Select Create Property. For the optional setup, leaving it checked eliminates the need for another tag to be created.
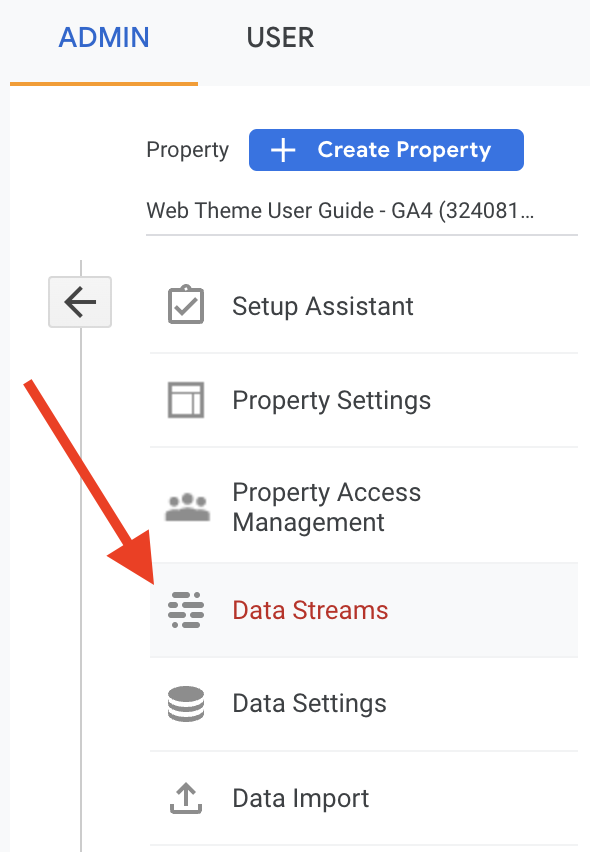
- The account will now be created along with a new stream id and you will arrive at the newly created account dashboard.
- In order to start collecting data, a Measurement ID will be needed to connect to the Drupal site, which is created under the Data Streams panel under the Web option.
Link GA4 property to Drupal CMS
- Drupal 8/9: For version 4.0.x install using Composer and enable the module on your site. Note: All UCSB Web Theme sites come packaged with both GA4 and Google Tag Manager)
- Under Configuration > Google Analytics > Add Another ID button > Enter the property's Measurement ID , located on the Google Analytics website and under the Data Stream tab for the GA4 property.
- Save Configuration.
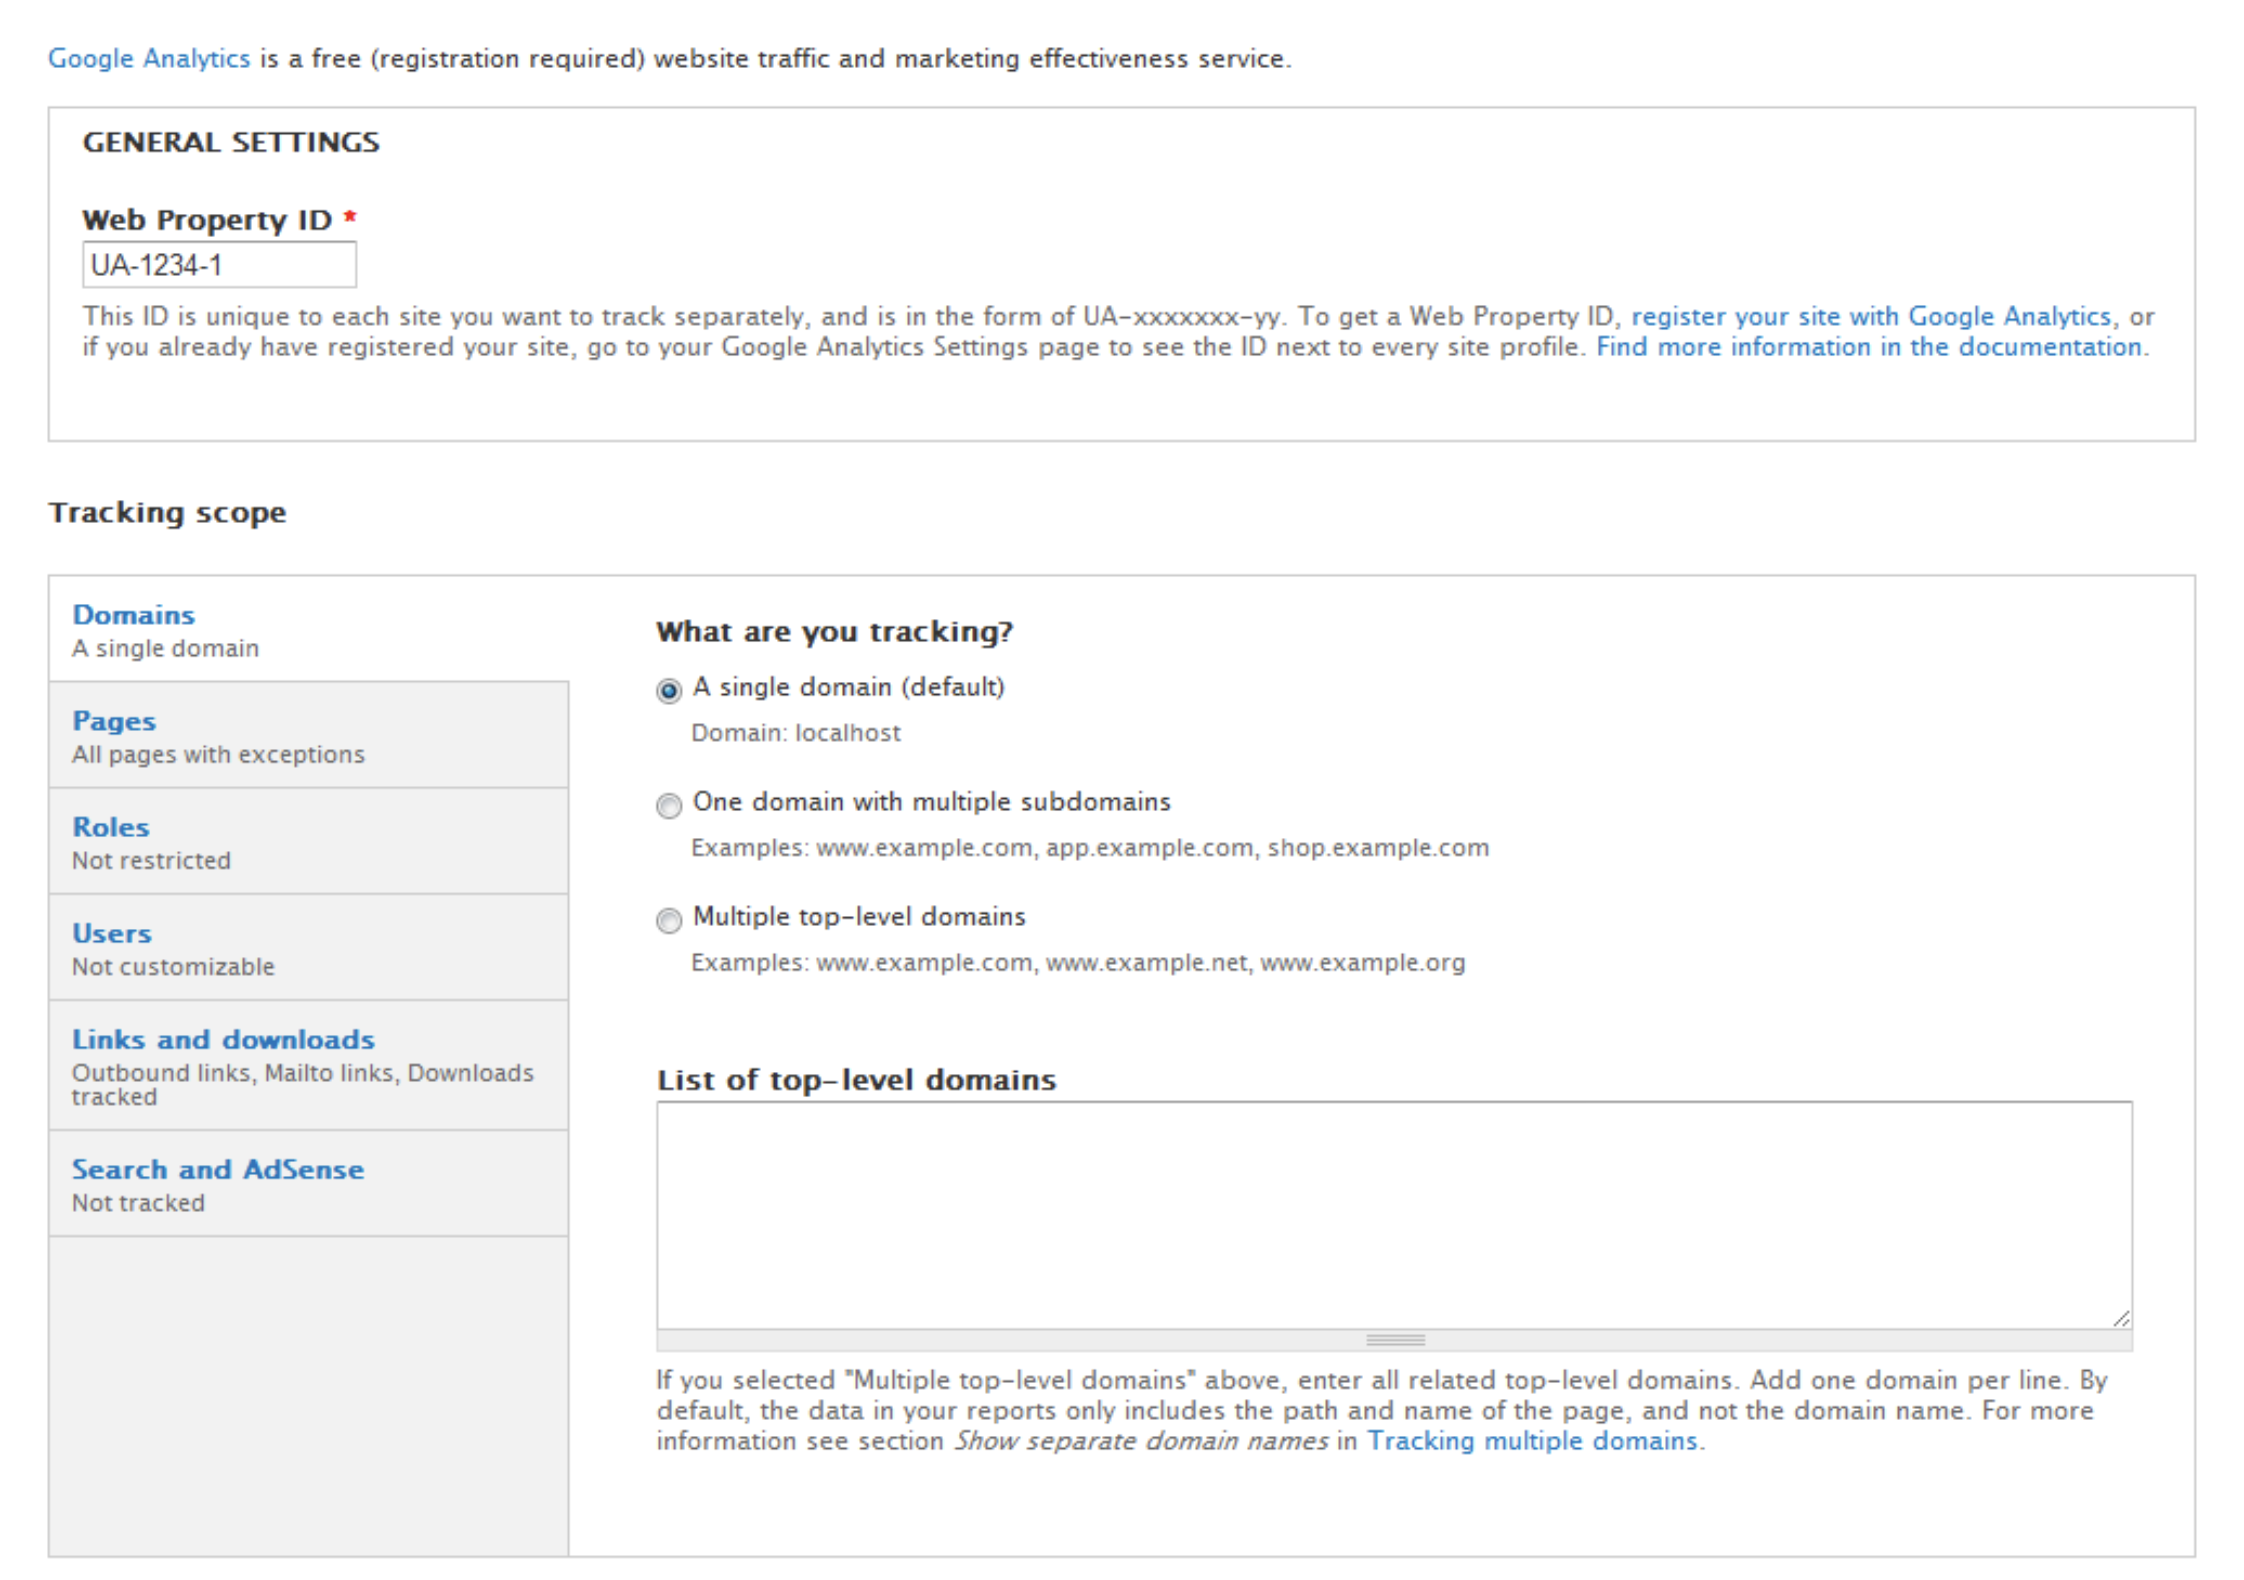
Old configuration screen for Google Analytics module
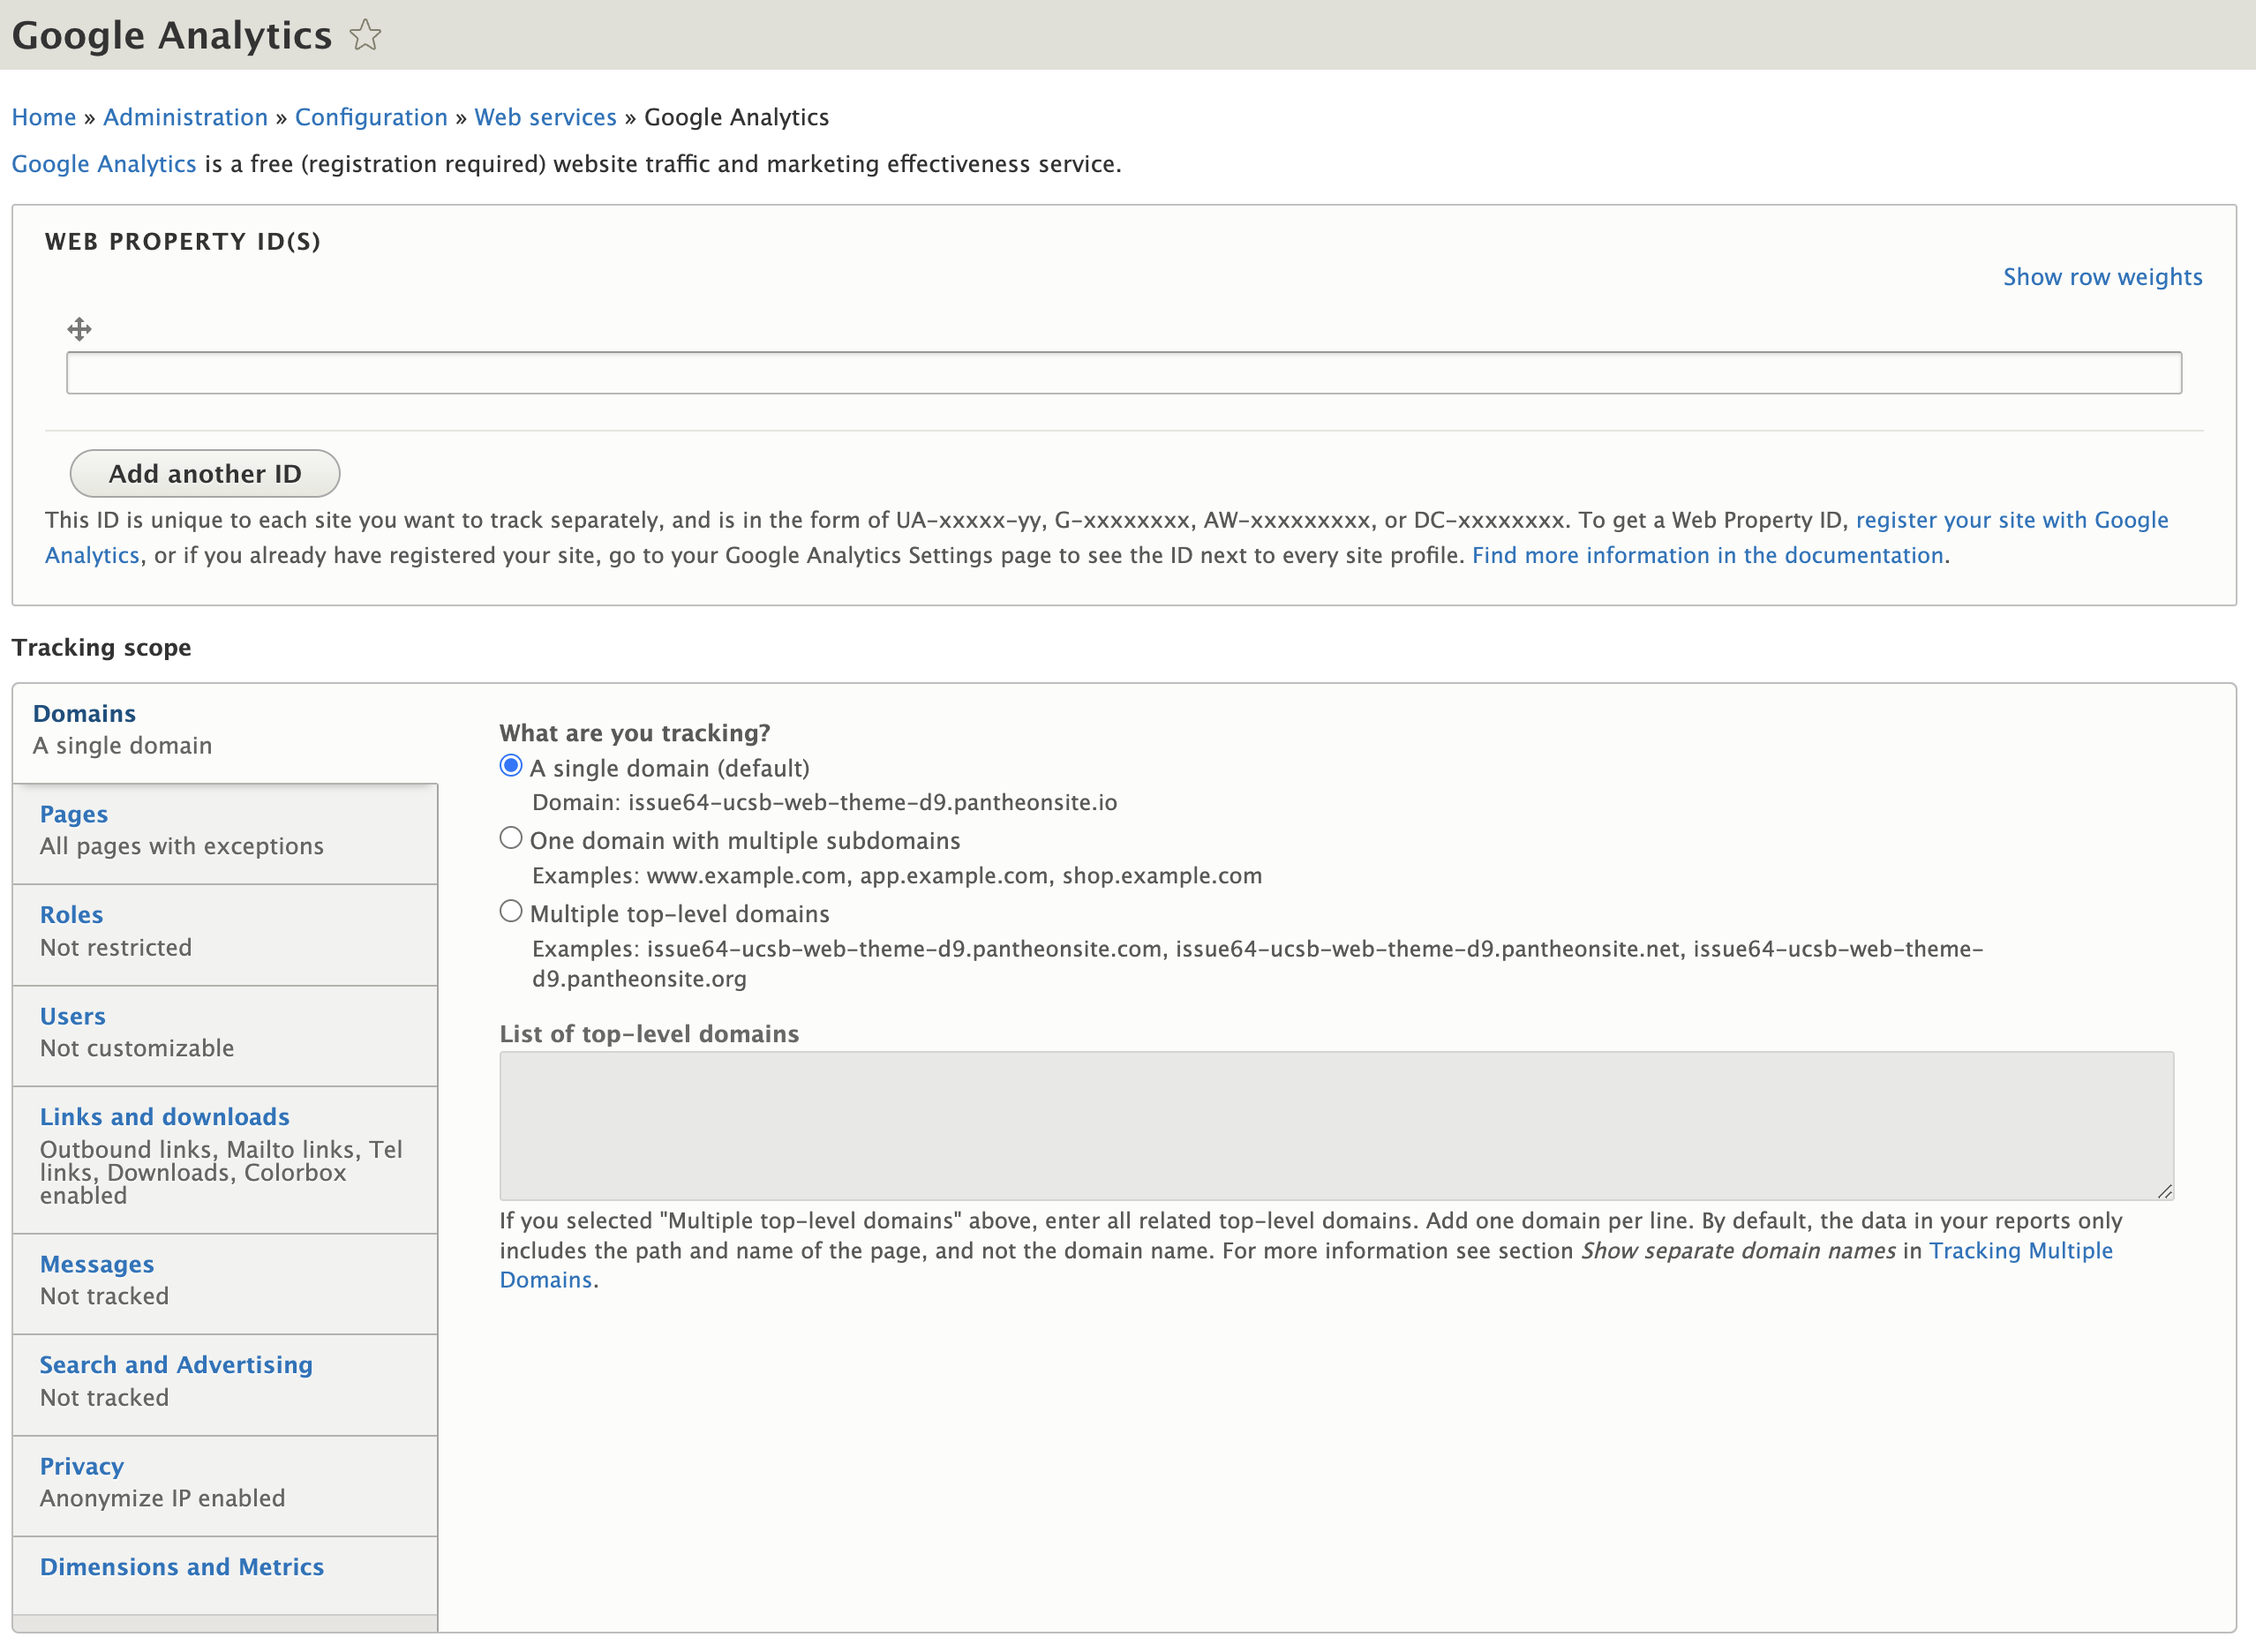
New GA4 configuration screen for Drupal 9
Permissions
If you need to setup permissions or allow access to this property for other website personnel, here are the steps.
- Click the Admin button in the lower left corner again.
- In the Admin tab, click the Account Access Management item
- You will be taken to the Account Permissions overlay. Click the
 icon in the top right of the screen. From the dropdown menu, select Add Users.
 - Grant the user Editor, Analyst, or Viewer permissions and click the Add button.
- An email invitation from Google Analytics will be sent to the new user.
Resources
GA4 module for Drupal 8/9
Google Support page with Drupal 9 setup
For advanced metrics, consider using the Google Tag Manager module which is also GA4-ready.